Learn the best practices and tips for setting up email sending domains in Pardot with this comprehensive guide. Ensure your emails reach the inbox every time! Before sending emails through Pardot, add the Email Sending Domain in Pardot.
In Pardot, the email addresses of your users will determine which domain is used when sending emails. For example, if you send a Pardot email and choose user@yourcompany.com as the sender email, yourcompany.com is the domain that would be used. That is the domain that will need to be configured in Pardot, and Pardot will provide you DNS entries, and these DNS entries will need to be placed in your DNS. If your users have different domains, each one that will be used will need to be configured.
The Email Sending Domain involves 3 separate DNS entries:
Add SPF and DKIM Records to Your DNS
Domain: info.yourwebsite.com
Have your IT team add TXT records for SPF and DKIM to your sending domain’s DNS record.
1. Add Pardot’s SPF statement to your SPF record.
- If you don’t have an SPF record, add a TXT record with this statement: @ -> v=spf1 include:aspmx.pardot.com ~all
- If you do have an SPF record, add this statement, and move ~all to the end: @ -> include:aspmx.pardot.com
Here you can check the screenshot.


- Add a TXT record and paste the DomainKey value with this statement:
200608._domainkey.info.yourwebsite.com ->k=rsa; p=MIGfMA0GCSqGSIb3DQEBAQUAA4GNADCBiQKBgQDGoQCNwAQdJBy23MrShs1EuHqK/dtDC33QrTqgWd9CJmtM3CK2ZiTYugkhcxnkEtGbzg+IJqcDRNkZHyoRezTf6QbinBB2dbyANEuwKI5DVRBFowQOj9zvM3IvxAEboMlb0szUjAoML94HOkKuGuCkdZ1gbVEi3GcVwrIQphal1QIDAQAB;
Here you can check the screenshot.


If you need help setting up the Email Sending Domain, you can get in touch with us here.

Digital Marketing Manager at Cloudvandana Solutions
Request a Free Consultation
YOU MIGHT ALSO LIKE
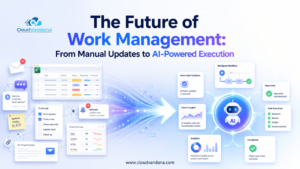
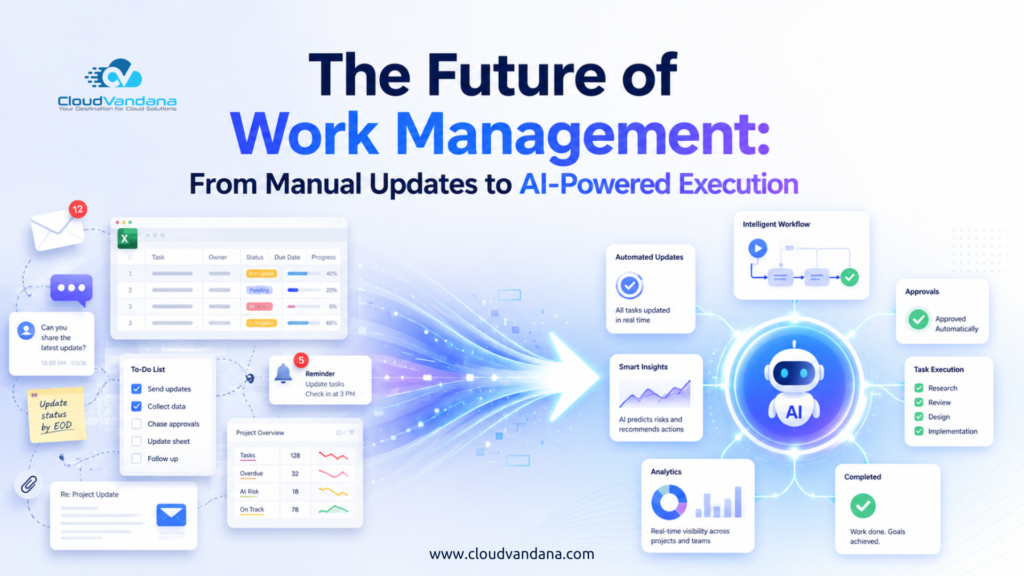
The Future of Work Management: From Manual Updates to AI-Powered Execution
Salesforce Implementation Checklist for Growing Businesses
Salesforce Health Check Checklist: 15 Things Every Business Should Review Quarterly

Salesforce Consulting Services: When Should a Business Hire an Expert?
Salesforce Automation vs AI Agents: What Should Businesses Use First?