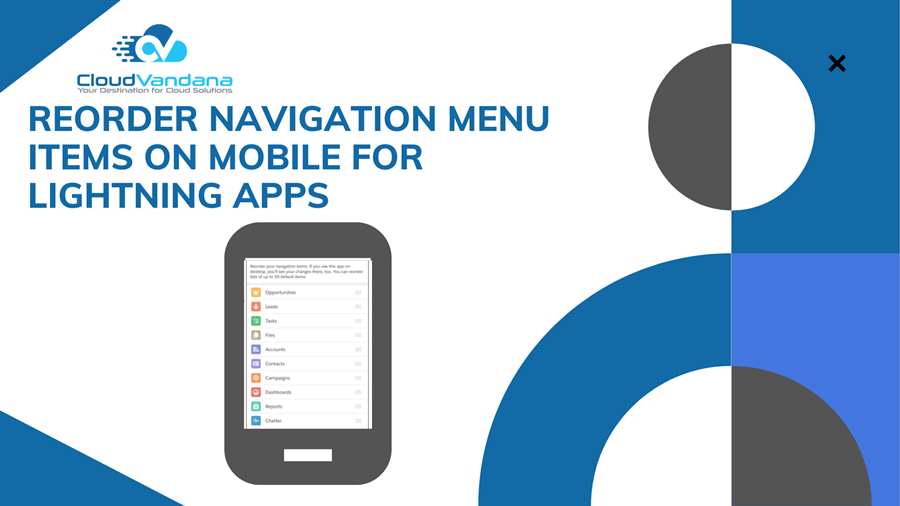
Learn how to customize and reorder your Salesforce mobile navigation menu in Lightning apps. Boost user productivity with personalized mobile navigation—no admin required.
Why Mobile Navigation Is Strategic, Not Cosmetic
Salesforce users are increasingly mobile-first. Whether they’re field reps closing deals on the go or executives reviewing dashboards in transit, the expectation is clear: access must be fast, intuitive, and customizable. One critical aspect of that experience is the navigation menu.
Historically, navigation was admin-controlled and configured in desktop settings. But as of the July 2020 Salesforce update, users can now personalize their navigation menu and bar directly from the Salesforce mobile app—without admin assistance. This marks a significant shift in power and flexibility for end users.
When navigation aligns with the way users actually work, productivity improves. Tapping into this capability is no longer optional—it’s a performance enabler.
What Is the Salesforce Mobile Navigation Menu?
In the Salesforce mobile app, the navigation menu is the vertical sidebar that provides access to all tabs, objects, and dashboards in the current Lightning App. It’s essentially a launchpad—where every tap either accelerates momentum or introduces friction.
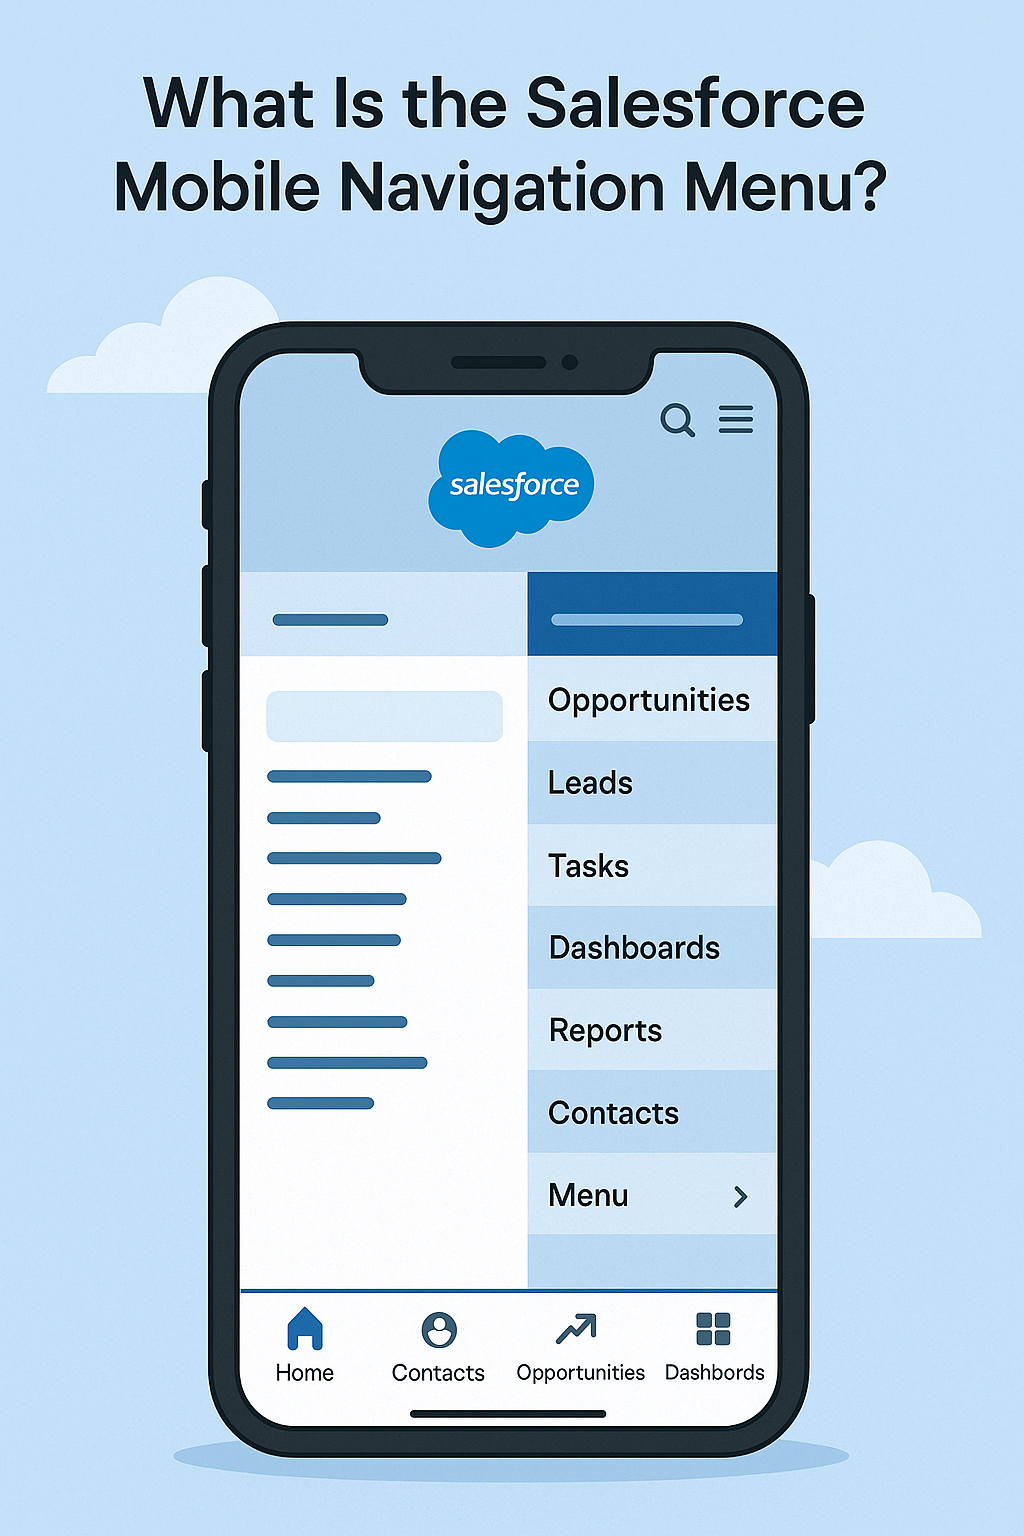
In tandem with this menu, the navigation bar sits at the bottom of the mobile screen and displays the top four menu items. These are always visible and instantly accessible, which makes their configuration highly impactful.
The Evolution of Navigation: From Admin-Defined to User-Personalized
Previously, any change to the navigation menu had to be made by Salesforce administrators via the Lightning App Builder. Users had no control over the order or visibility of items on mobile unless they made changes to the desktop version—if they had access at all.
Now, any user in a Lightning app with personalization enabled can customize their own navigation experience from their mobile device. This includes:
- Reordering items in the navigation menu
- Customizing the navigation bar (the first 4 menu items)
- Resetting to default with a tap
This shift places customization where it belongs—in the hands of the user.
The Productivity Gains of Reordering Navigation Items
This enhancement isn’t just a usability improvement; it’s a measurable productivity booster. Here’s why:
1. Faster Access to Critical Objects
By putting the most-used objects—like Opportunities, Cases, or Dashboards—at the top of the menu, users eliminate unnecessary scrolling. And by surfacing those same items in the bottom nav bar, they’re literally one tap away at all times.
2. Better Mobile Alignment
Mobile workflows are often different from desktop ones. A field rep may need quicker access to Maps, Appointments, or Assets, while a marketer might prioritize Campaigns and Dashboards. Personalized mobile menus reflect the reality of each user’s role.
3. Reduced Admin Dependency
Users no longer need to wait for admins to restructure the app for mobile. Personalization empowers autonomy, while admins retain global control through default configurations.
4. Consistency Across Mobile Apps
Even in mobile-only Lightning apps, users can take full control of how they navigate—without requiring admin edits from the desktop.
Step-by-Step: How Users Can Reorder Navigation Items on Mobile
For users who want to tailor their Salesforce mobile experience, the process is refreshingly simple.
Step 1: Open the Salesforce Mobile App
Launch the app and navigate to any Lightning App with personalization enabled.
Step 2: Access the Navigation Menu
Tap the hamburger icon in the lower-right corner of the screen to open the full menu.
Step 3: Tap “Edit”
Scroll to the bottom of the menu and tap the Edit icon.
Step 4: Drag to Reorder
Use the drag-and-drop handles to reorder menu items based on what you use most.
🔹 Pro Tip: The first four items in your menu appear in the bottom navigation bar—keep your most frequent actions there.
Step 5: Save Your Changes
Exit the Edit screen. Your menu is now live with the updated order.
Step 6: Reset If Needed
Want to go back to the default structure? Simply return to the Edit view and tap “Reset Navigation.”
Admin Perspective: Setting Up Intelligent Defaults
While users can personalize their menu, administrators still play a foundational role in shaping the experience.
What Admins Control:
- Which objects appear by default in a Lightning App’s navigation
- The default order of tabs
- Whether personalization is enabled
⚙️ Note: Personalization is enabled by default in most Lightning apps, but admins can disable it if standardization is critical for compliance or training.
Where to Configure:
- Go to Setup → App Manager
- Edit your Lightning App
- In “Navigation Items,” add and order the necessary tabs
- Save and assign the app to relevant user profiles
Admins are the architects. Defaults matter—especially for new users or teams without a clear understanding of what they need.
Real-World Use Case: Reps in the Field
Imagine a sales rep traveling across multiple cities in a week. Their priorities on mobile are vastly different from what they need at their desk. Here’s a mobile-first menu they might create:
Top 4 Menu Items (Navigation Bar):
- Opportunities
- Contacts
- Tasks
- Maps
Secondary Items in the Menu:
- Accounts
- Dashboards
- Reports
This structure aligns perfectly with their on-the-go needs—allowing them to log visits, view pipelines, and access directions within a single tap.
When to Disable Personalization
There are cases when it’s advisable to restrict user control:
- Highly regulated industries where data access must be tightly governed
- Training programs where standardized UI is critical
- Apps with sensitive workflows that rely on tab order for logic or automation
Admins can disable personalization from the Lightning App setup page. Always communicate with users before implementing restrictions.
Best Practices for Mobile Navigation Success
- Design for the role, not the org. Tailor navigation defaults for sales, service, marketing, or operations separately.
- Audit frequently. As teams evolve, so do their workflows. Review and update menu structures quarterly.
- Train users to customize. Include a short tutorial or guide during onboarding so users can adapt their navigation from day one.
- Monitor adoption. Use the Lightning Usage App or feedback surveys to assess how users are engaging with mobile customization features.
- Limit choices. Overcrowded menus are self-defeating. Less is more when it comes to mobile navigation.
Key Differences: Admin vs. User Reordering
| Feature | Admin | User |
|---|---|---|
| Default Tab Order | ✅ | ❌ |
| Object Visibility | ✅ (via permissions) | ❌ |
| Personalized Tab Order | ❌ | ✅ |
| Reset to Default | ❌ | ✅ |
Admins define structure. Users define workflow. The two must complement each other—not compete.
Limitations and Considerations
- Sync Delays: Changes made by admins may take a few minutes to appear on user devices.
- Object Visibility: Users can’t see objects they don’t have access to—even if included in the admin’s menu.
- No Control Over Utility Bar via Mobile: Utility items are set by admins and cannot be rearranged by users on mobile.
Reordering Navigation—A Small Move with Big Impact
While it may seem like a minor feature, the ability to reorder navigation items is a powerful tool in the Salesforce arsenal. It empowers users. It frees up admins. And most importantly, it adapts Salesforce to real-world workflows—making mobile CRM truly mobile-first.
How CloudVandana Can Help You Optimize Lightning Navigation
Navigating Salesforce effectively on mobile isn’t about pushing tabs around—it’s about engineering intuitive, role-based pathways that align with how your people actually work. That’s where CloudVandana comes in.
We help businesses unlock the full potential of Lightning apps by:
- Designing mobile-first Lightning Apps
- Configuring admin-controlled navigation menus
- Implementing mobile personalization policies
- Training users to customize their own navigation
- Auditing and optimizing for long-term productivity
Whether you’re planning a Lightning rollout or refining an existing deployment, CloudVandana ensures your navigation structure is as dynamic as your business.
👉 Explore our Salesforce Services

Digital Marketing Manager at Cloudvandana Solutions
Request a Free Consultation
YOU MIGHT ALSO LIKE

The Future of Work Management: From Manual Updates to AI-Powered Execution
Salesforce Implementation Checklist for Growing Businesses

Salesforce Health Check Checklist: 15 Things Every Business Should Review Quarterly

Salesforce Consulting Services: When Should a Business Hire an Expert?

Salesforce Automation vs AI Agents: What Should Businesses Use First?