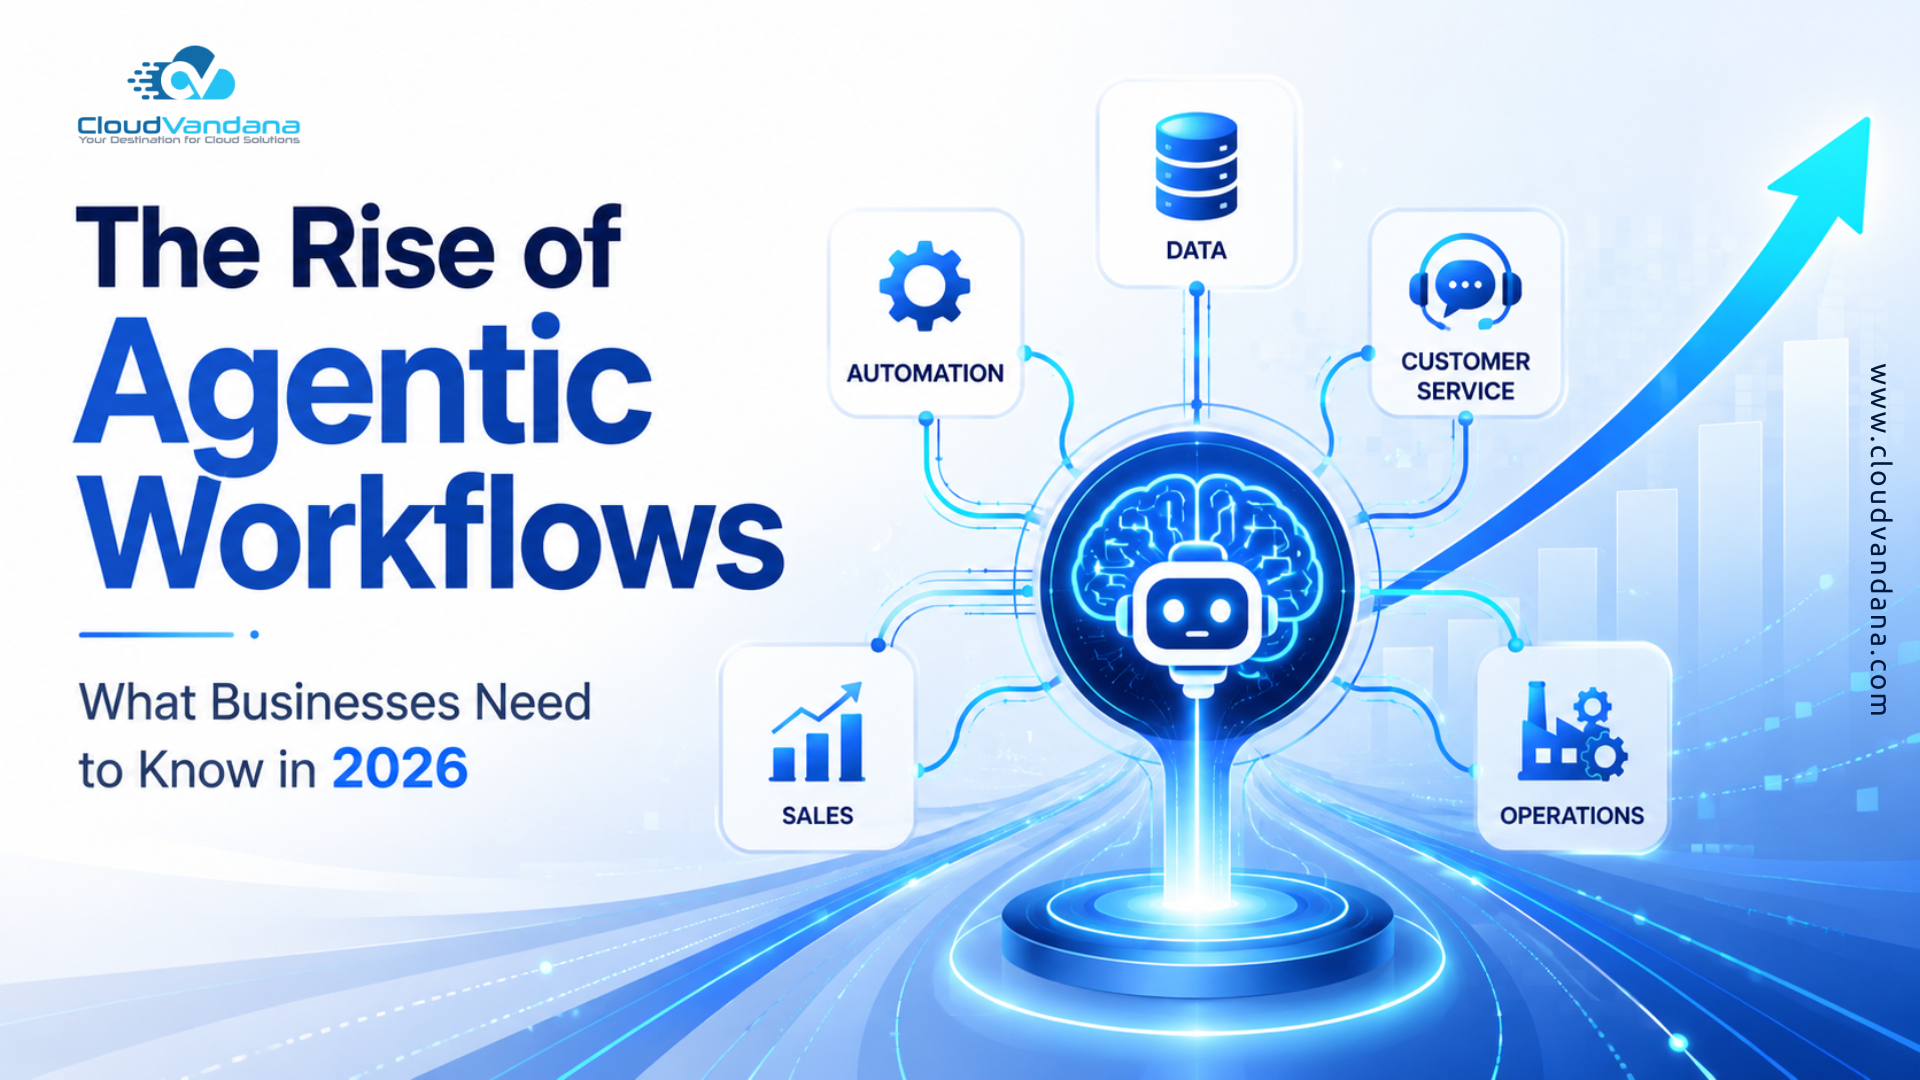
The Rise of Agentic Workflows: What Businesses Need to Know in 2026
For years, business automation followed a relatively simple formula: define a rule, select a trigger, and execute a predetermined action.


For years, business automation followed a relatively simple formula: define a rule, select a trigger, and execute a predetermined action.
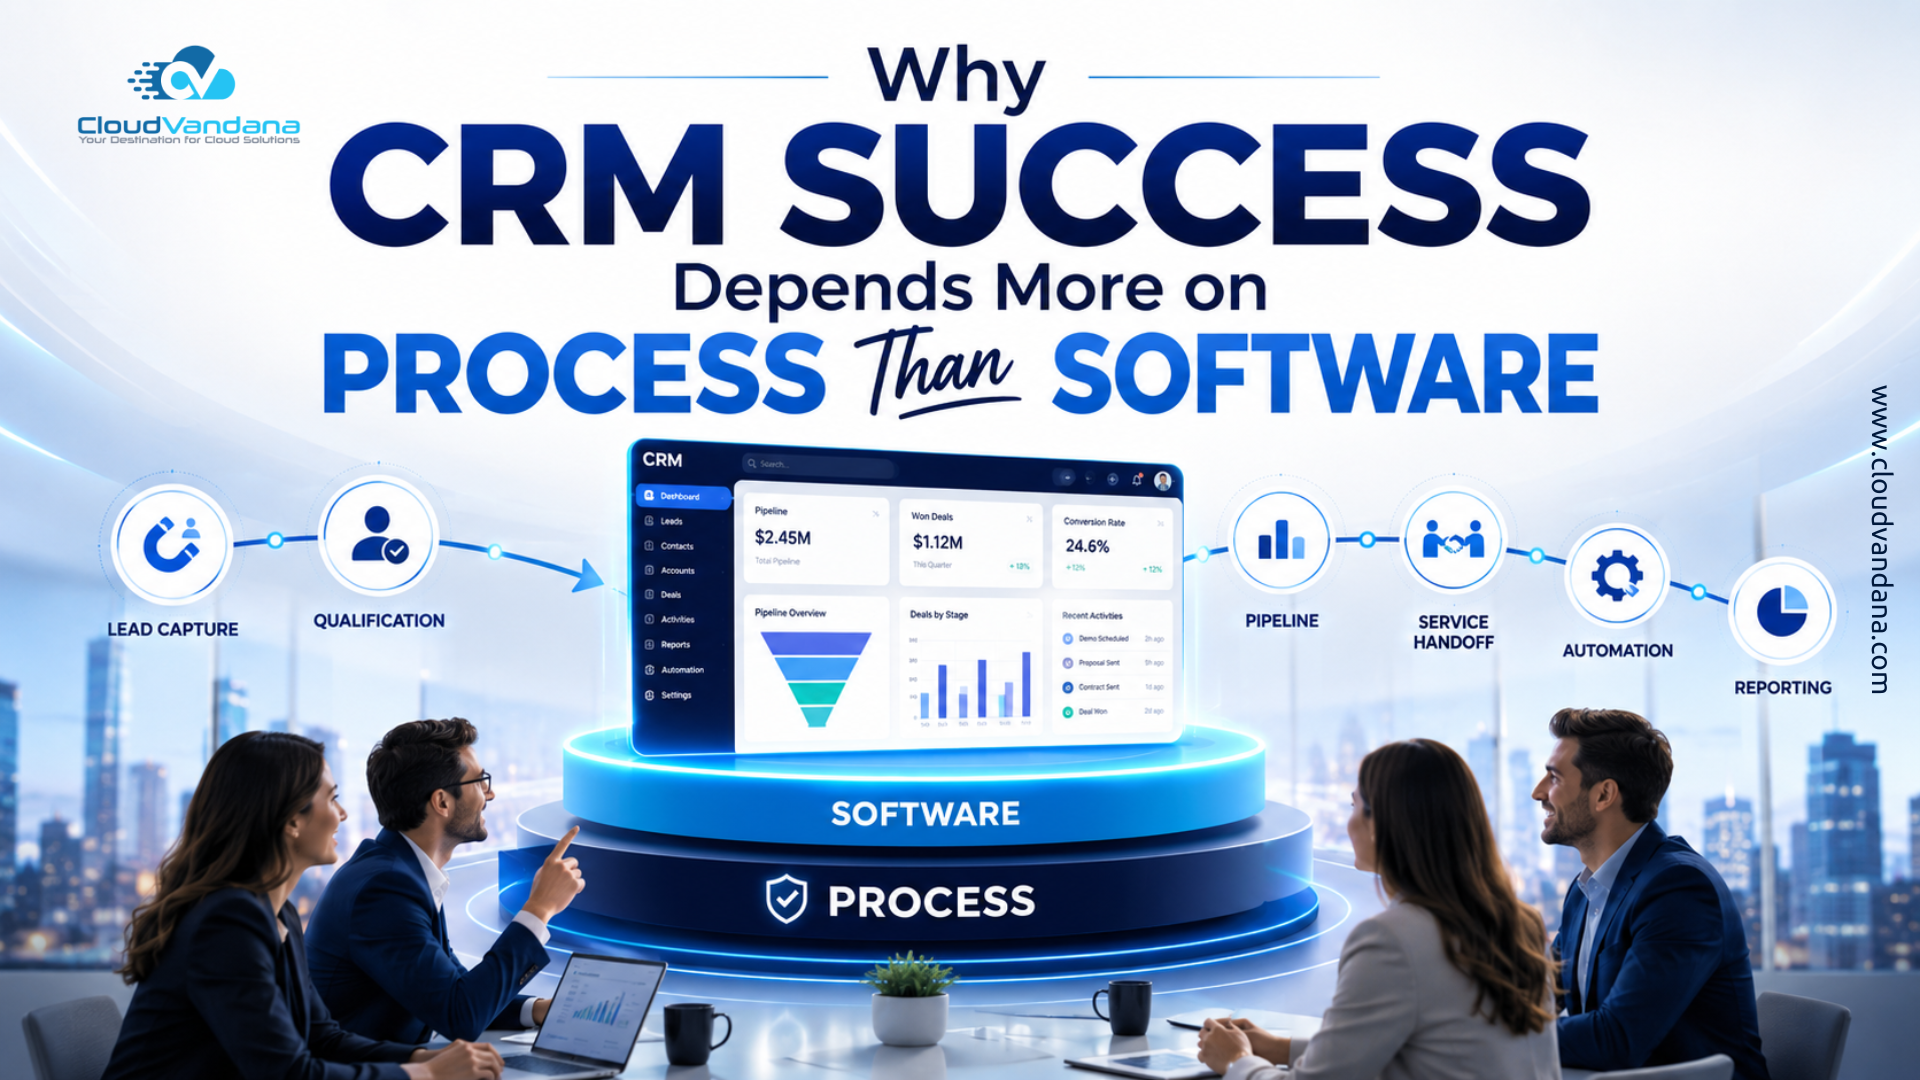
Introduction: The Real Reason CRM Projects Struggle Businesses invest heavily in customer relationship management platforms with the expectation that sales
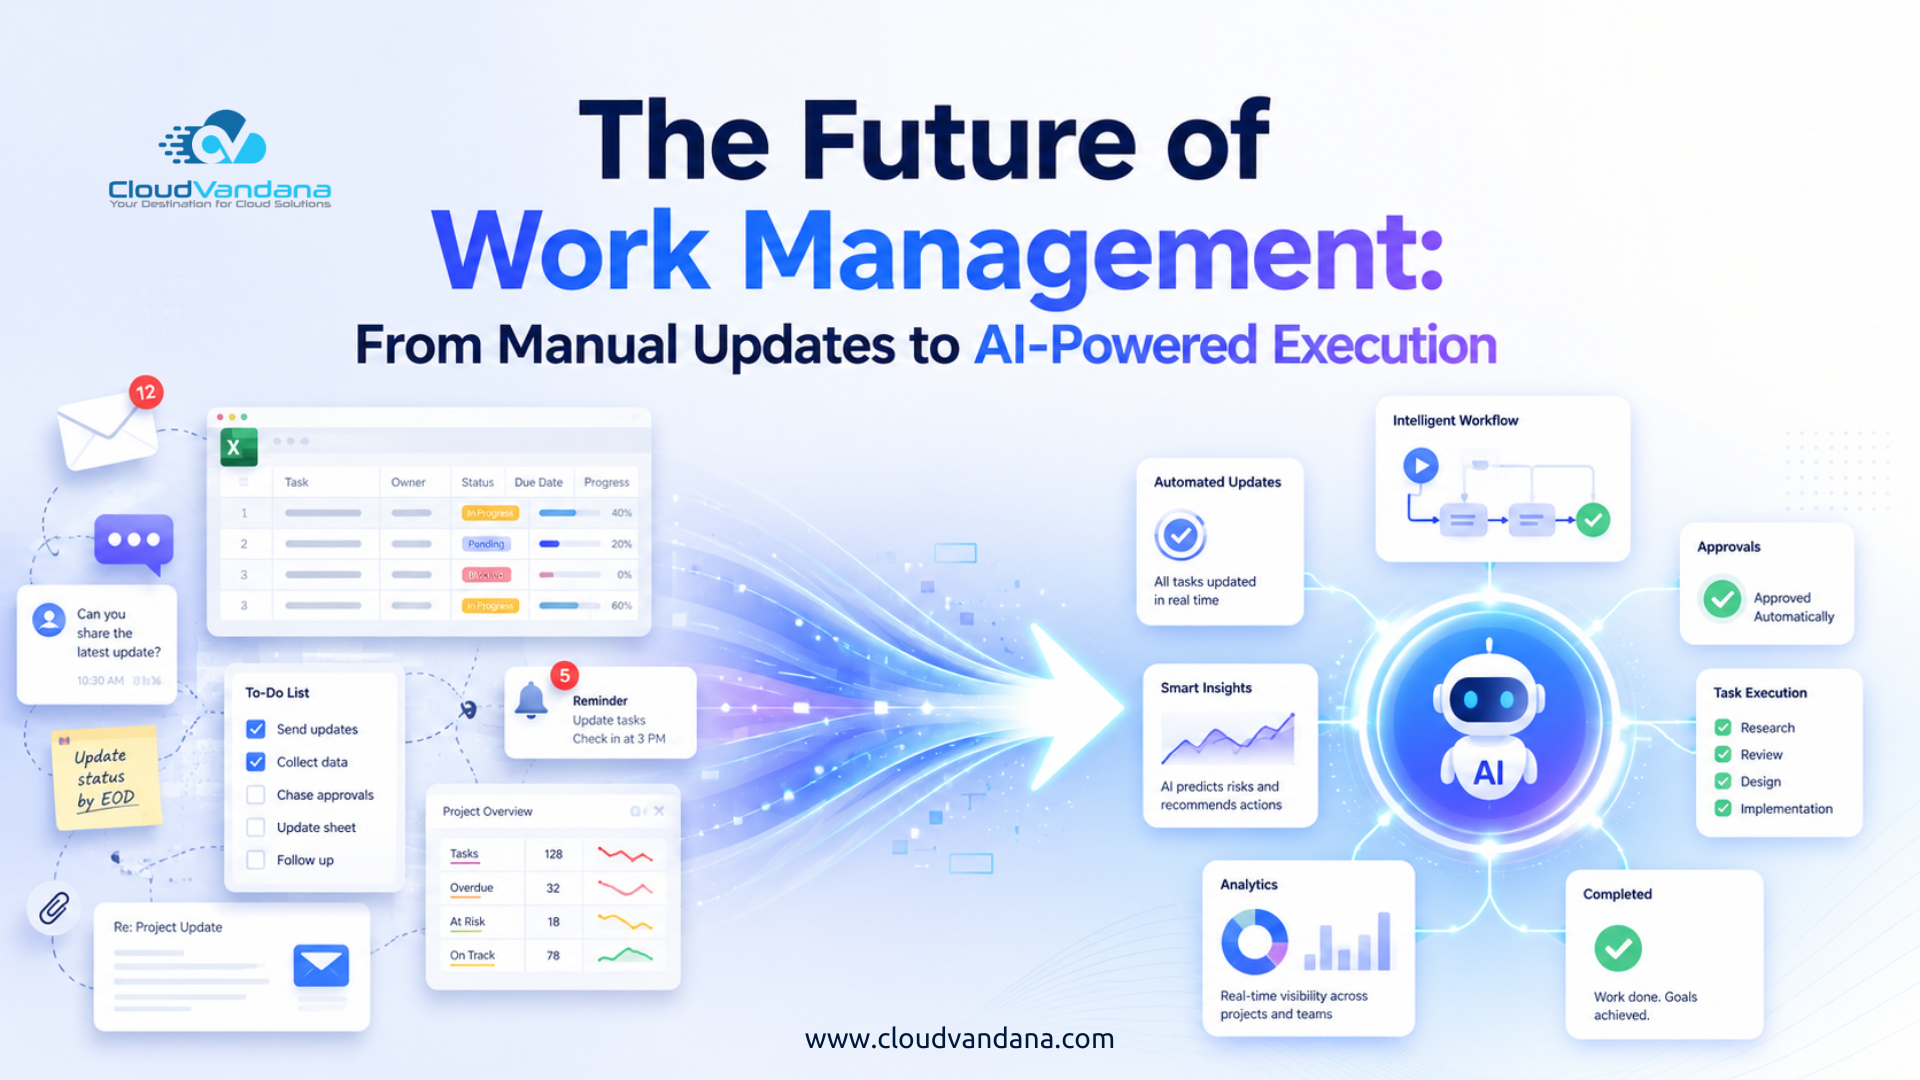
Introduction: Work Management Is Entering a New Era For years, businesses have used project boards, spreadsheets, email threads, meetings, and
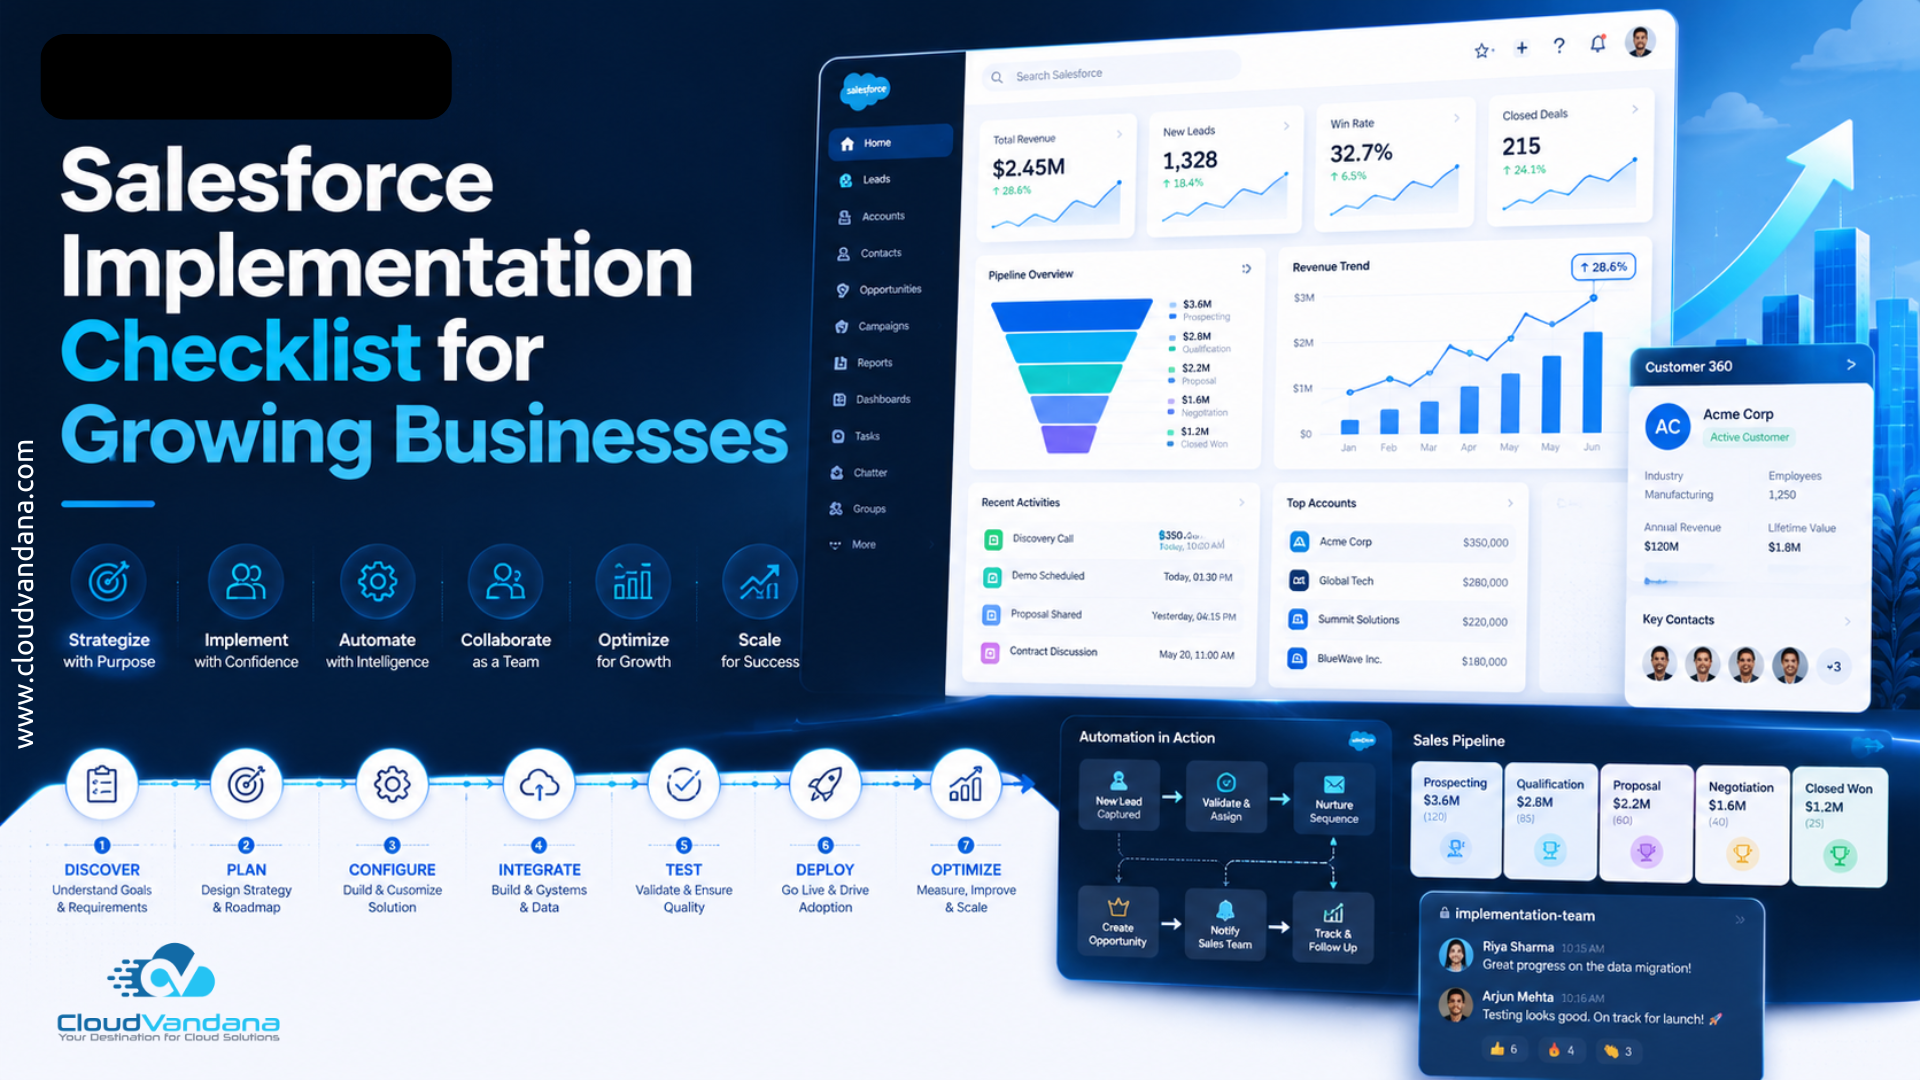
Salesforce can transform the way a growing business manages leads, customers, sales, service, marketing, operations, and reporting. But Salesforce success
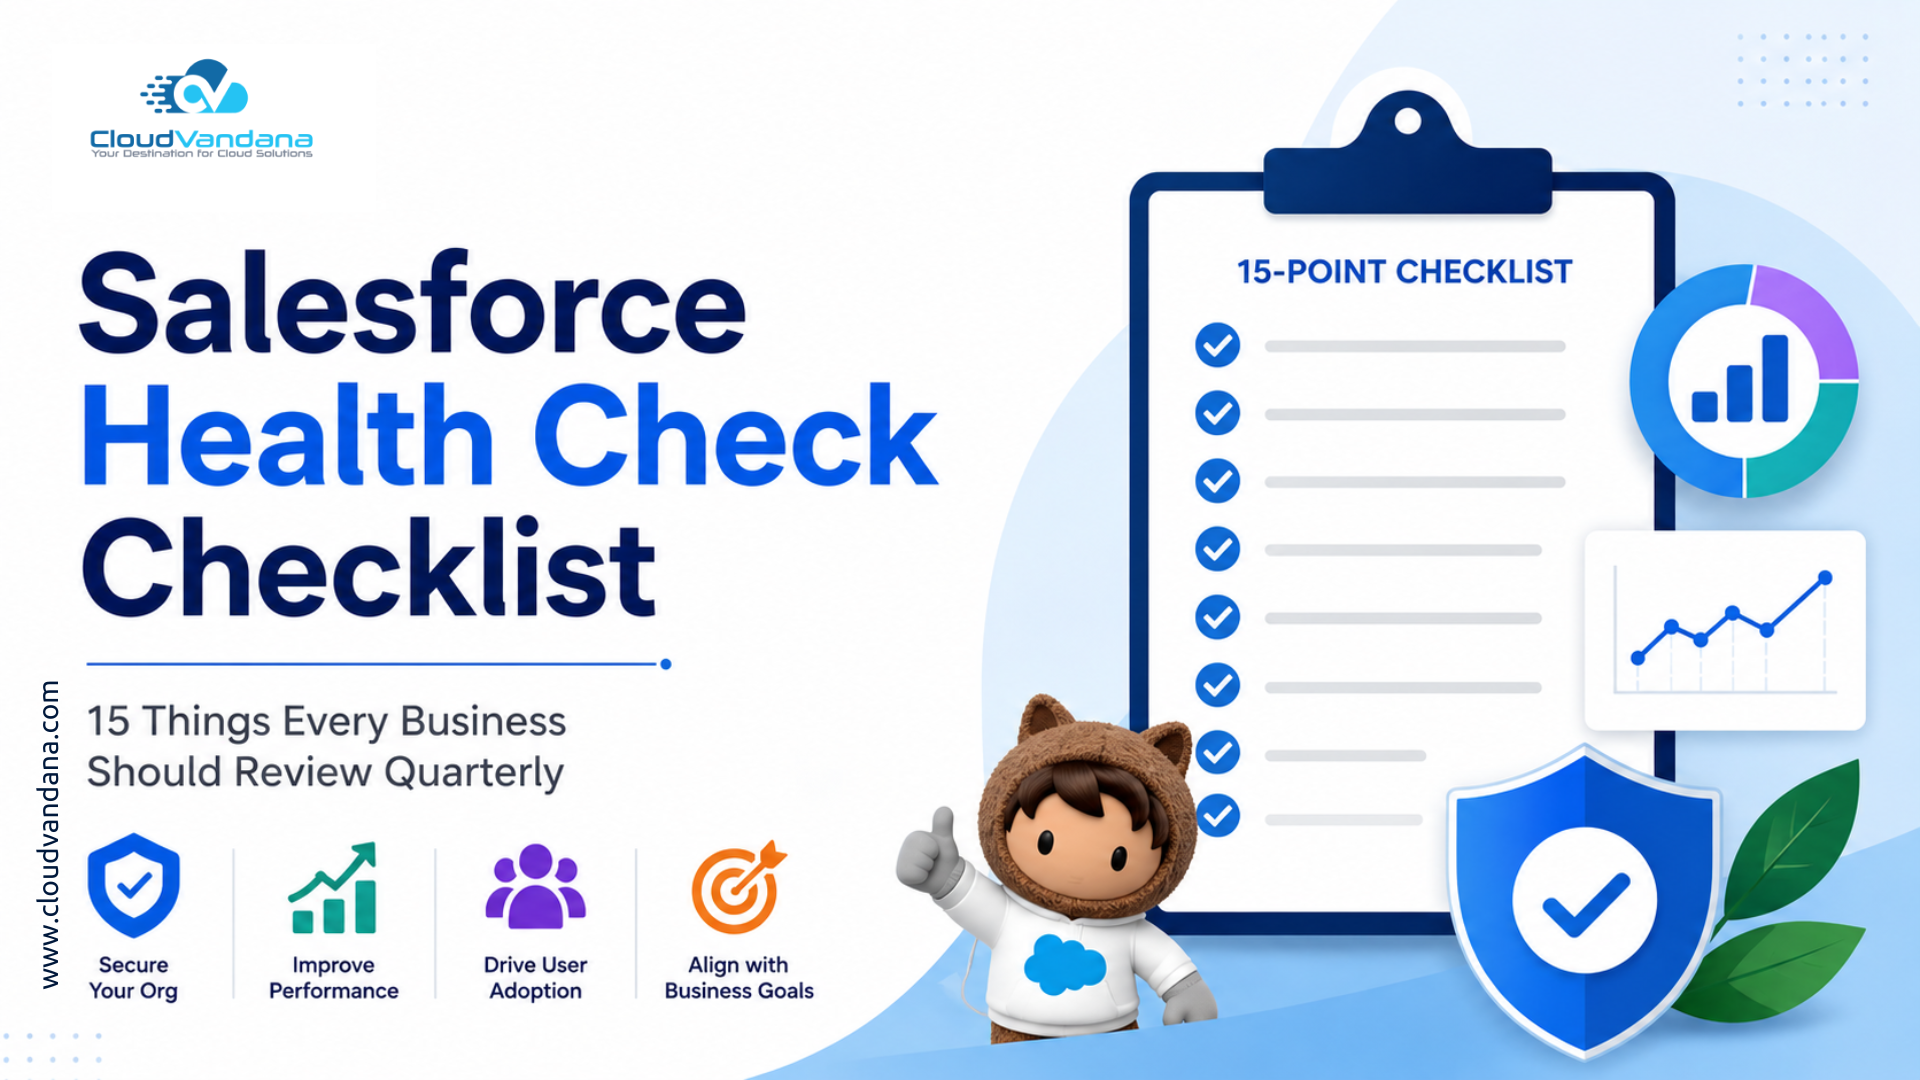
Salesforce is often treated like a one-time implementation project. That is the first mistake. A business launches Salesforce, trains users,

Salesforce is one of the most powerful CRM platforms in the world. It can manage leads, automate sales processes, improve
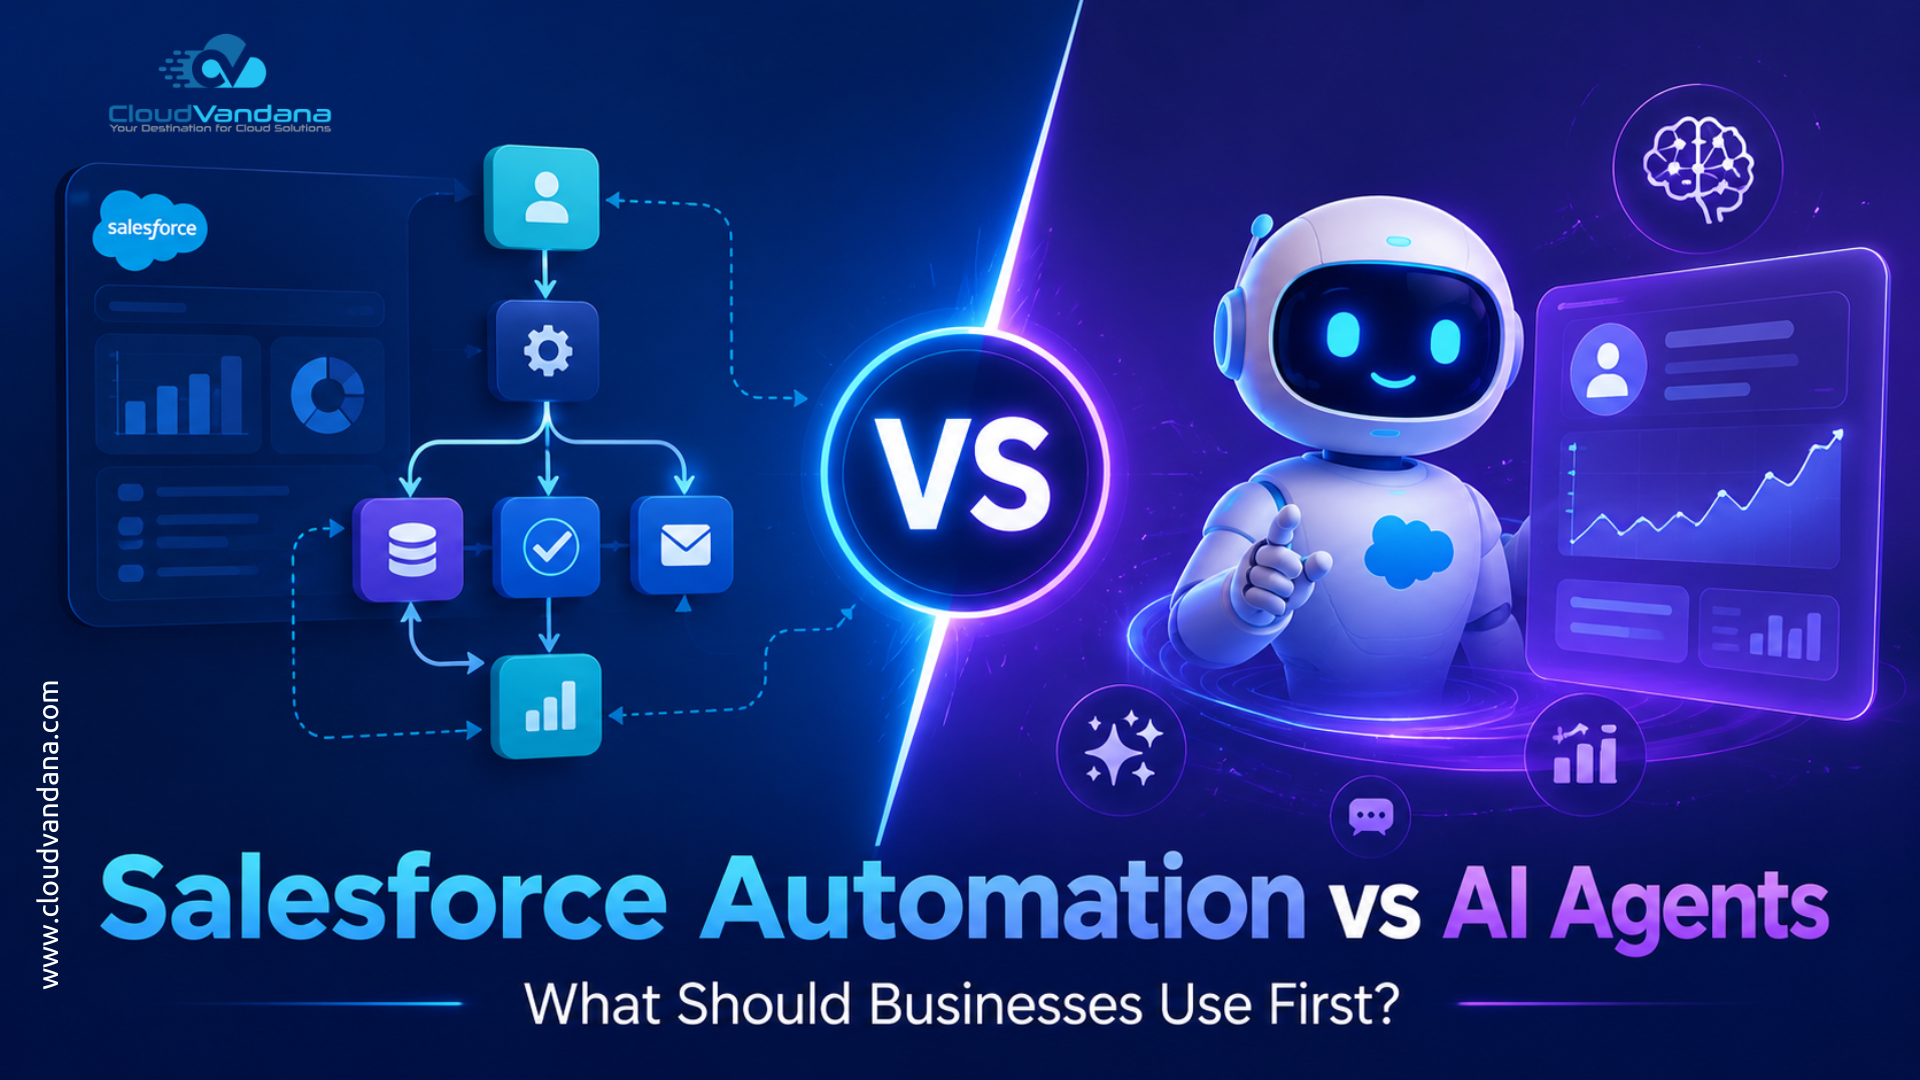
Salesforce has entered a new era. For years, businesses focused on automating repetitive CRM tasks. Lead assignment. Follow-up reminders. Approval

Artificial intelligence is changing the way businesses think about customer relationships. For years, CRM systems have helped companies store customer
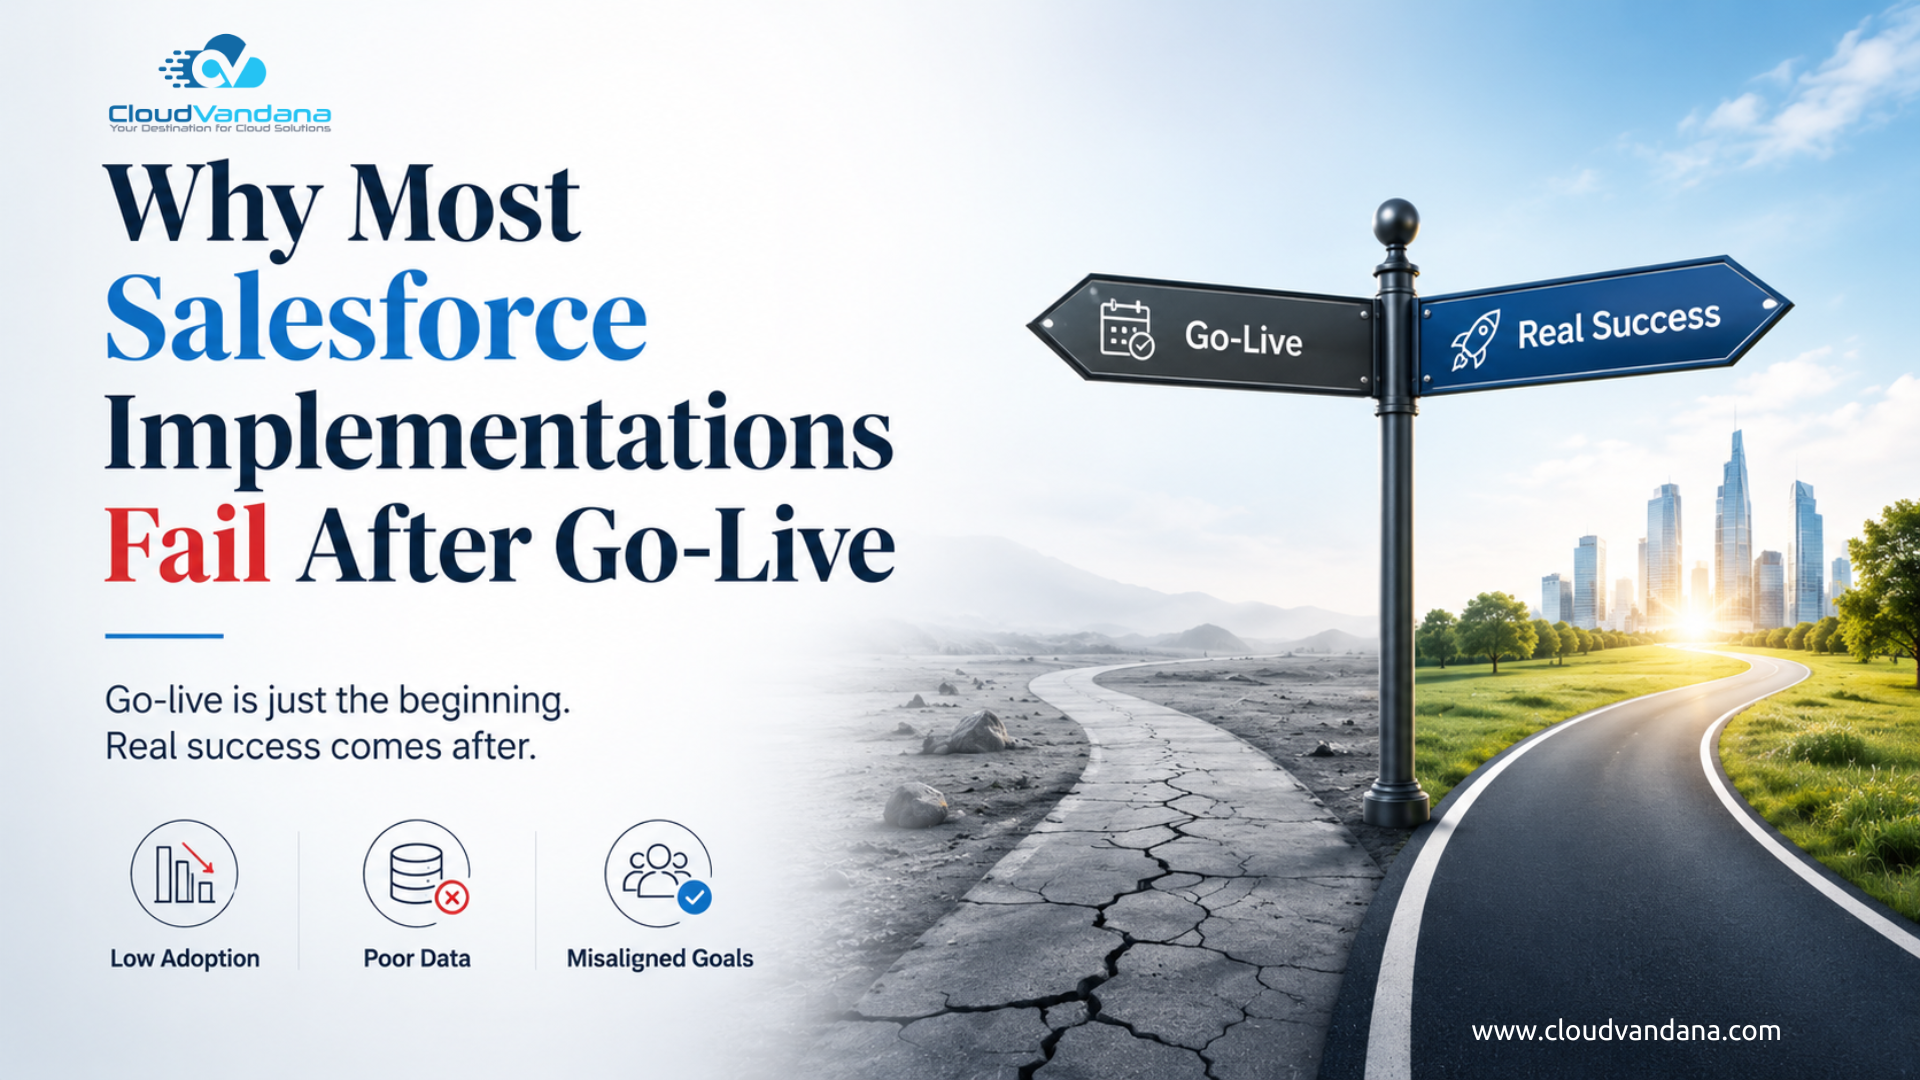
Introduction: Go-Live Is Not the Finish Line Many Salesforce implementations do not fail on launch day. They fail quietly. The
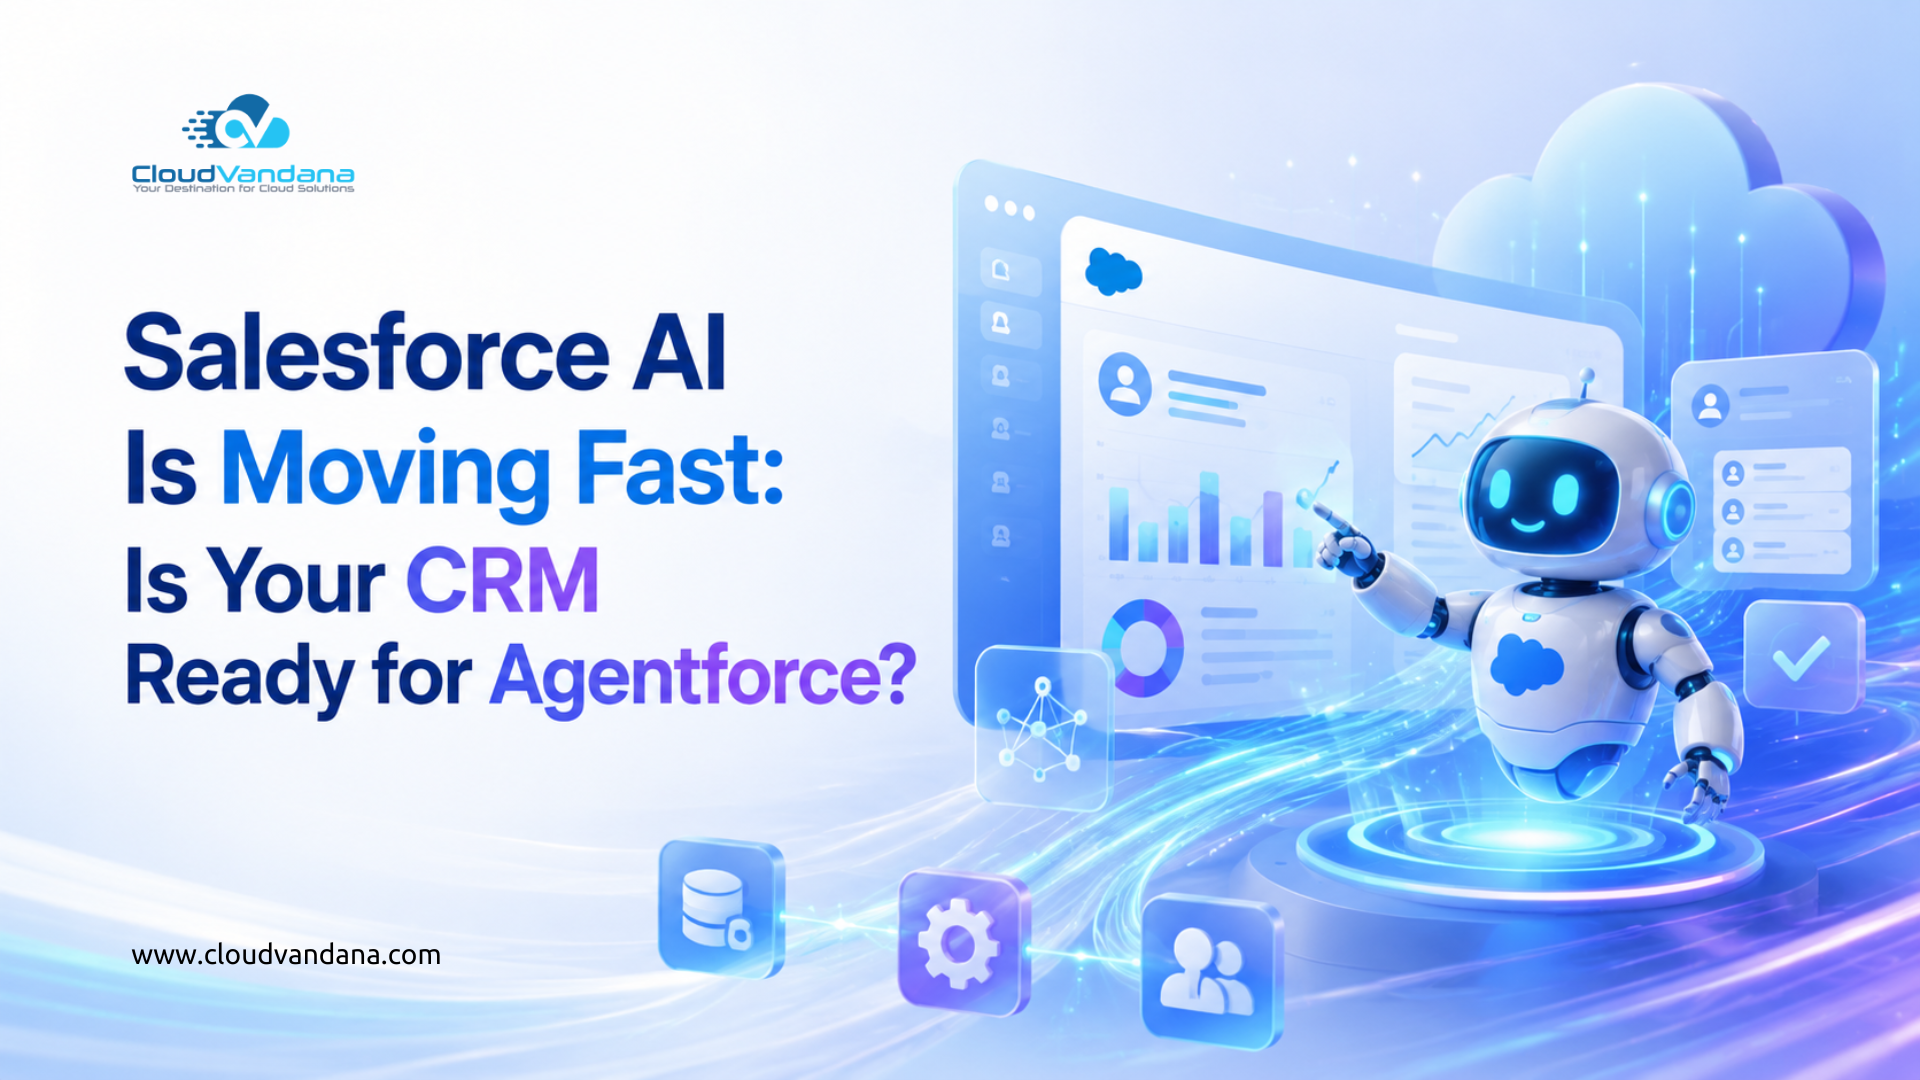
Salesforce AI is moving faster than most businesses expected. A few years ago, AI inside CRM felt like an added


