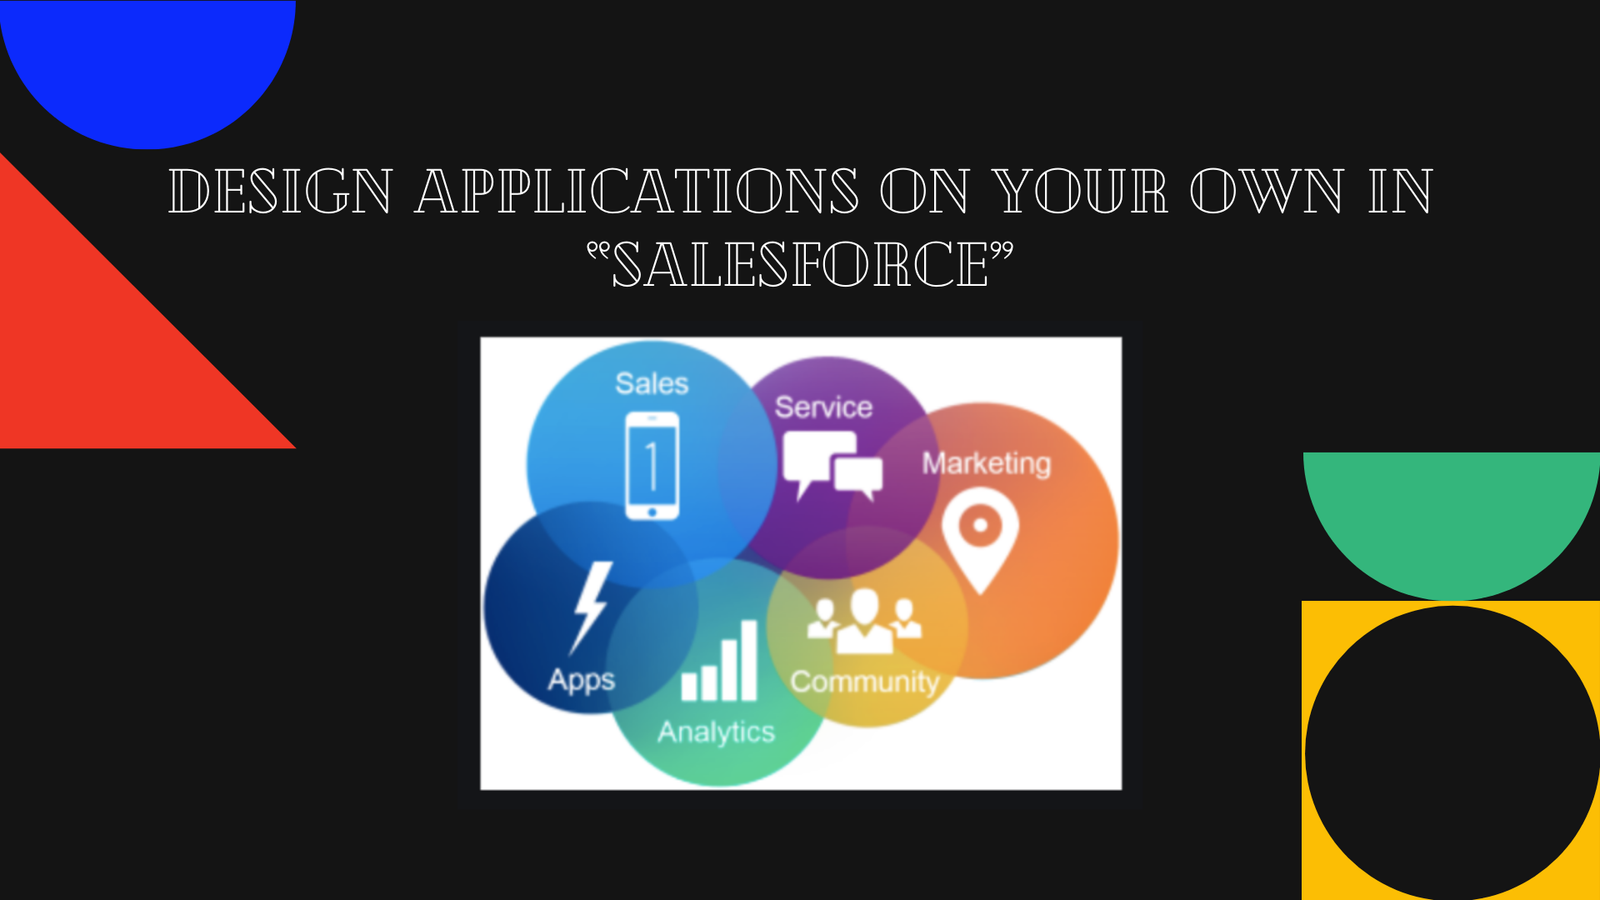
The Salesforce Platform empowers businesses, admins, and even non-developers to build powerful, scalable, and custom applications—without having to write a single line of code. Whether you’re managing a sales process, handling customer support, or tracking internal operations, you can design applications tailored specifically to your business needs using Salesforce’s intuitive point-and-click tools.
In this comprehensive guide, we’ll walk you through everything you need to know to design, configure, and launch your own custom app in Salesforce. We’ll break it down into simple steps, from app creation to custom object setup, automation, and final deployment. Let’s dive in.
Why Build Your Own App in Salesforce?
Before we jump into the steps, let’s answer an important question: why build your app on the Salesforce Platform?
- No-Code/Low-Code: You don’t need to be a developer. Most configurations use drag-and-drop or form inputs.
- Speed to Launch: Apps can be created in days—not weeks or months.
- Security Built-In: Profiles, permission sets, field-level security, and user management are tightly integrated.
- Scalable: Start small and expand as your needs grow.
- Cloud-Based: Access from anywhere, anytime, on any device.
- Automation-Ready: Powerful tools like Flow Builder and Process Builder help you streamline operations.
What Is a Salesforce App?
In Salesforce, an App is essentially a collection of objects, tabs, and features that serve a particular business function or department. For example:
- A Sales App might include objects like Leads, Opportunities, and Accounts.
- A Project Management App might include custom objects like Projects, Tasks, and Resources.
Your app will include:
- Custom or Standard Objects
- Tabs to Navigate Between Data
- Permissions to Control Access
- Layouts to Organize User Views
- Automation for Business Logic
Step-by-Step: Create Your Own Salesforce App
Here’s how to build a basic custom app in Salesforce using the Lightning Experience.
✅ Step 1: Open the Setup Menu
Everything starts in Salesforce Setup.
- Click the gear icon ⚙️ in the top right corner.
- Select Setup from the dropdown.
- This opens the Setup page where you’ll manage your entire org.
✅ Step 2: Go to the App Manager
- In the left-hand Quick Find search bar, type
App Manager. - Click on App Manager under the “Apps” section.
- On the App Manager screen, click the New Lightning App button at the top right.
✅ Step 3: Create a New Lightning App
You’ll be walked through a series of setup steps in the App Builder.
- App Name: Give your app a descriptive label like “Project Tracker” or “Client Portal”.
- API Name: This auto-fills. You can leave it as is.
- Logo & Branding: Upload a logo or use a default icon.
- Navigation Style: Choose between Standard Navigation or Console Navigation (Console is great for service agents).
- Utility Bar Items: Add useful tools like Notes, History, or Recent Items.
- User Profiles: Select which users should have access to this app.
Once everything looks good, click Finish to create your app.
✅ Step 4: Add or Create Tabs
Tabs help users access objects (like records of data) quickly from the navigation menu.
- Go to the “App Settings” > Navigation Items.
- Choose tabs to include:
- Standard tabs like Accounts, Contacts, Tasks
- Custom tabs for custom objects (like “Projects” or “Resources”)
- Click Add, then Save and Finish.
To create a new custom tab:
- Go to Setup > Tabs
- Click New next to Custom Object Tabs
- Choose the object and icon, give it a label, and save.
✅ Step 5: Set User Profiles and Permissions
Now that your app is created, assign it to the right users.
- Navigate to Setup > Profiles
- You can either:
- Assign the app to an existing profile
- Or clone and customize a new profile
For better control, it’s often useful to clone an existing profile, rename it to something like “Project Manager User,” and customize it.
From the Profile:
- Choose which Tabs are visible
- Adjust Object Permissions (Read, Create, Edit, Delete)
- Define Field-Level Security
This ensures that different user groups only see what they need to see.
Step 6: Create Custom Objects and Fields
Custom objects are like database tables unique to your business needs.
To create a new custom object:
- Go to Setup > Object Manager
- Click Create > Custom Object
- Fill in the following:
- Label: “Project”
- Object Name (auto-filled)
- Description (optional but helpful)
- Enable Reports, Activities, and Track Field History if needed
- Click Save
Now that your object is created, you can create fields to define what data should be tracked.
To add fields:
- Open the newly created object from the Object Manager
- Go to Fields & Relationships
- Click New
- Select the Field Type (Text, Picklist, Number, Lookup, etc.)
- Define:
- Field Label
- Length
- Help Text
- Required or optional
- Assign visibility via Field-Level Security
- Choose Page Layouts where this field should appear
Repeat this for each field needed for your app.
Examples:
- Text field: Project Name
- Date field: Deadline
- Picklist: Status (Planned, In Progress, Completed)
- Lookup: Assigned To (User)
Step 7: Automate with Flow Builder
Now that your objects and fields are ready, it’s time to make your app smarter.
Use Flow Builder to automate processes such as:
- Sending emails when records change
- Assigning tasks to users
- Updating fields based on logic
- Approving requests
To access:
- Go to Setup > Flows
- Click New Flow
- Choose Auto-launched or Record-Triggered Flow
- Use the drag-and-drop builder to create logic and paths
This helps your app reduce manual work and increase consistency.
Step 8: Organize Layouts and Record Pages
User experience matters. Let’s make sure your pages are clean and intuitive.
From the Object Manager:
- Go to your object (e.g., Project)
- Click on Page Layouts
- Drag and drop fields, sections, or related lists
- Remove unnecessary fields to keep it clean
You can also use the Lightning App Builder to:
- Create custom record pages
- Add components like Related Lists, Charts, Tabs, and more
Step 9: Deploy and Test
You’re almost done! Before going live, test everything:
- Log in as different users
- Check permissions
- Ensure fields and automation work
- Make tweaks to layouts or processes based on feedback
Once tested, assign it to production users.
Bonus Features to Explore
Once your app is live, Salesforce offers many additional tools to help you grow and optimize:
- Reports & Dashboards: Build visual insights into your app data
- Mobile Access: Your custom app works on the Salesforce mobile app too
- Validation Rules: Ensure data quality by setting entry conditions
- Approval Processes: Get multi-step approvals for sensitive workflows
- Integration: Use APIs to connect with external systems (or tools like CV Files to sync files with Google Drive or OneDrive)
Use Case Example: A Simple Project Management App
Let’s say you’re building a Project Management App. You would:
- Create a custom object called Project
- Add fields like Project Name, Start Date, Due Date, Status
- Create another object called Task, with a Lookup to Project
- Build a tabbed interface to access Projects and Tasks
- Set up profiles for Project Managers and Team Members
- Automate task creation when a new project is added
- Use dashboards to show tasks by status and owner
Within a few days, your team is up and running—without a single developer involved.
At a Glance: –
Create profiles :
- Navigate to Setup -> Administer -> Manage Users -> Profiles
- Now clone any of the existing profiles by clicking on Edit option.
After the tabs and profiles are ready, you can provide data into it.
Create custom object and custom fields :
- Navigate to the Setup -> Build -> Create -> Object.
- Choose the New custom object option.
- Fill the object name and Description. Click on Save.
- Once the custom object is created, it can be added to the Tab Menu.
- Navigate to the Setup -> Build -> Create -> Object.
- Now select the object in which you want to add fields.
- Scroll down the custom fields or relationships for that particular object and click on the ‘New’ option.
- Now define the data type for the field and click Next.
- When you are defining fields, don’t forget to consider rules and check on the length of the field, name, and description.
- Click Next and select the proper profile for the field that can be changed later.
- Select the page layout suitable for the field.
- Click Save.
By following the above steps, you can create your own Salesforce app and start managing data in your Salesforce Org.
Now if you want to get up and running more quickly, you can also contact us, and we can help you get up and running!
We can get you up and running within a couple of days on a basic application built on Salesforce.
Want to Get Up and Running Faster?
While Salesforce makes it easy to build applications on your own, we know that time and resources are always in short supply. That’s why we offer professional assistance to help you:
- Scope and design the right app
- Set up objects, fields, layouts, and automations
- Configure roles, profiles, and permissions
- Train your team on how to use and maintain it
Whether you need a small internal tool or a scalable enterprise solution, we can help you get up and running in just a few days.
Ready to Experience the Power of Salesforce?
If you’re excited to start but want a jump-start from experts who’ve built apps across industries—get in touch with us!
👉 Contact CloudVandana now and start building your custom Salesforce app today.


