Streamline access controls with field-level security in Salesforce. Learn how to implement it quickly and easily with our comprehensive guide.
Field-Level Security in Salesforce
Salesforce‘s field-level security feature can help you streamline access controls and limit what users can view or edit in your account. With this guide, learn how to quickly and efficiently implement field-level security in your Salesforce account for maximum security.
Establish Your Data Model and Object Hierarchy
The first step in configuring field-level security is to establish an object hierarchy that reflects the organization, structure, and data model of your system. Doing this allows you to determine which objects, fields, and other related metadata are necessary for each user group and assign those permissions accordingly. It’s worth taking some time at this stage to make sure you have the right access setup before assigning it to users. Once you have established an object hierarchy, decide which users need access to what data and then assign privileges for each user or user group.
Identify the Users and Privileges You Need to Set
One of the most important steps in setting up field-level security is to identify all the user groups and their associated privileges for each object. It’s important to bear in mind that some objects have more sensitive data than others, so making sure you configure separate access controls will help prevent unauthorized access, as well as limit what users can do with specific fields once you’ve identified who needs access to which objects, set up separate user profiles with the appropriate privileges. This way, you can quickly specify who should see and edit specific records while keeping other users from seeing sensitive information.
Create Profiles, Roles, Users, and Security Settings
To set up field-level security, create profiles for the users needing access to specific records and fields. Each profile should specify which objects the user can view or edit, as well as the level of privilege. Additionally, create different roles if needed and assign each user to one or more roles. Finally, create users with social features such as Chatter use cases, personalized views, and personalized settings in Salesforce. Don’t forget to add security settings or sharing rules to control data visibility across multiple profiles.
Test the New Settings To Make Sure They Work as Expected
Now that the access controls are set up and configured properly, it is important to test them in order to ensure they work as expected. Users should be able to access specific records, fields, and related areas in Salesforce according to their assigned profiles based on the previous steps. If any discrepancies appear or something doesn’t seem to work correctly, check back through each step and make sure everything is set up correctly. Then conduct additional tests with different scenarios to cover all the bases.
Adjust Access Controls as Necessary for Future Changes in Requirements
Once the access controls are in place and configured for current needs, it is important to remember that these settings can be adjusted to accommodate changes in requirements. If a profile or user’s access rights need to be modified, follow the same initial steps as before and adjust accordingly. Make sure also to do more testing afterward as well to make sure the most recent adjustments work properly.
Are you opting for more information or looking for a successful Salesforce Implementation? Please feel free to get in touch with CloudVandana, a reputed Salesforce partner in India, and get end-to-end Salesforce solutions for your business from our Salesforce Experts, and take your business to the next level. Call Now.

Digital Marketing Manager at Cloudvandana Solutions
Request a Free Consultation
YOU MIGHT ALSO LIKE
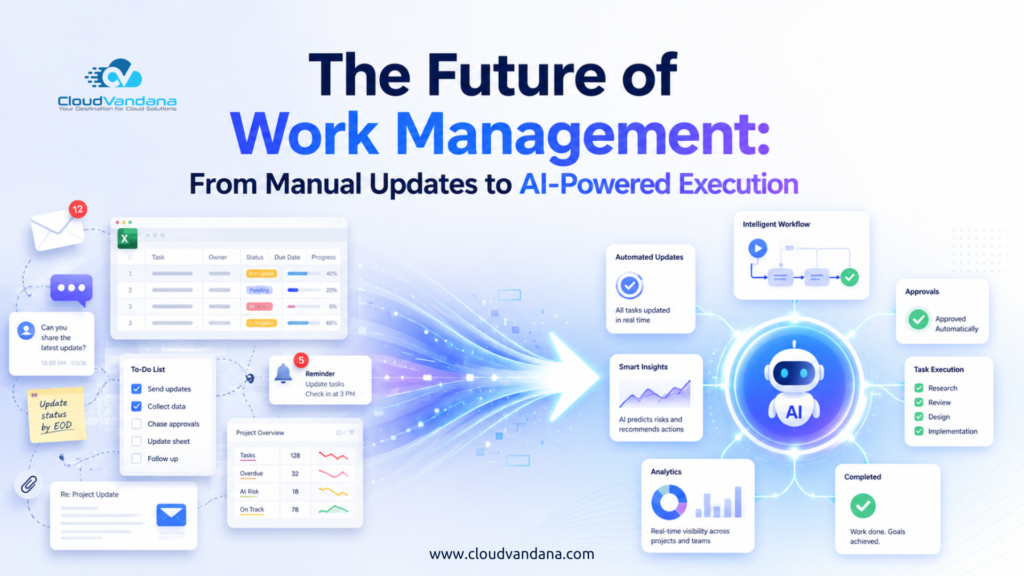
The Future of Work Management: From Manual Updates to AI-Powered Execution
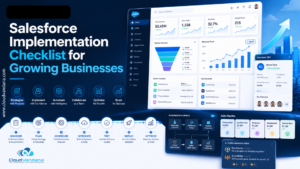
Salesforce Implementation Checklist for Growing Businesses
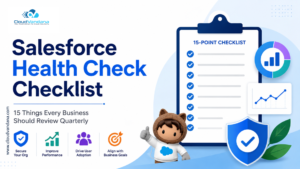
Salesforce Health Check Checklist: 15 Things Every Business Should Review Quarterly

Salesforce Consulting Services: When Should a Business Hire an Expert?

Salesforce Automation vs AI Agents: What Should Businesses Use First?