

Social Posting With Pardot

Social media can be overwhelming, but with Pardot, it doesn’t have to be. Learn how to optimize your social posting with this ultimate guide. Nowadays, Social media has become an important channel for B2B marketers, and posts with images and content will help you to drive the most engagement. With Pardot, You can post to Facebook, LinkedIn, and Twitter. Also Pardot has the ability to include images on these posts. Easy to use: With these features, adding images to social posts from Pardot is very simple. It’s no longer necessary to have an image uploaded to Pardot before starting a social post — now you can upload it in-line while you’re creating the post. You can also simplify the interface for adding links, forms, files, and landing pages from Pardot and for adding campaigns and tags to a social post. And you can choose the option for a post like, posting now and scheduling a post for a future date and time. Here you can check the Screenshot of the Social Post Images Render Beautifully: You don’t need to worry about the image rendering. With Pardot Social Posting you can post images in your social post on the three top social networks for B2B marketers— natively in Twitter and Facebook and as a preview in LinkedIn — so you don’t have to worry about images looking one way inside Pardot, and another way in your live post. Track your Success: Pardot also allows you to track engagement with your posts. If any of your social posts fails for any reason, the reason for failure will be displayed so you can quickly address it and retry your post. Since Twitter has replaced the “Favorite,” all Twitter Likes will be reported as Likes, and Retweets will be counted, too.” These enhancements are available immediately to all Pardot customers but only visible to Marketing and Admin roles. For customers with custom user roles, users will need the Create/Edit permission enabled for Social Posts. Customers posting to Facebook will need to re-verify their Facebook connectors to ensure images always post to the timeline rather than being collected into albums. If you need help setting up the Pardot, you can get in touch with us here. Request a Free Consultation YOU MIGHT ALSO LIKE
Useful Tips to Use Pardot Automation Rules

As known, Pardot comes with automation rules which allow you to perform certain marketing and sales actions based on criteria that you specify. Today I am going to share with you some automation scenarios which might be helpful for you to understand the power of Pardot Automation. Scenario 1: In Pardot there are many Prospects available but you want to find those prospects which are in Salesforce too so how can you find out those prospects? Solutions: There are 3 ways to find out those prospects. It all depends on your needs. If you want to create a one-time list then Segmentation Rule is the best option, if you want to create a list based on the add and remove concept then the Dynamic List is the best option, and the last one is Automation Rules. If I want a one-time list so the best option is the Segmentation Rule. What Is Segmentation Rule: Segmentation rules are helpful when you want to create a one-time list that is based on some specific criteria. Unlike automation rules, segmentation rules do not work retroactively. Segmentation rules run once and match only the prospects that meet the rule’s criteria when the rule runs. How to Create a Segmentation Rule in Pardot Here you can check the Segmentation Rule Screenshot Scenario 2: You want to create a one-time list based on if the prospect email status is Opted-Out or Do Not Email. Solutions: by using the Segmentation Rule you can create a list of prospects whose email status is Do Not Email or Opted-Out. Steps you need to follow: Here you can check the Screenshot of the Segmentation Rules. If you need help setting up the Pardot, you can get in touch with us here. Request a Free Consultation YOU MIGHT ALSO LIKE
Analyze Your Lightning Page Performance

Improve your Salesforce Lightning page performance with this ultimate guide to analyzing your page speed, load times, and more. Discover ways to make your record page perform better based on analysis right inside the Lightning App Builder. Performance Analysis in App Builder evaluates the fields, instances of the Related Lists component, and metadata of a record page. With the click of a button, get the best practices and suggestions for improving page performance and the end-user experience. To view the assessment of your page’s performance, click Analyze from the Lightning App Builder toolbar. Note: Performance Analysis in App Builder is available for desktop record pages only. Request a Free Consultation YOU MIGHT ALSO LIKE
Find Changed Opportunities at a Glance

Salesforce Kanban view for your Opportunities gives a summarized view that helps to close deals faster. Now, opportunity deal change highlights help your sales team prioritize work by showing recent changes to amounts and close dates. For example, knowing which deals changed helps sales managers with their weekly coaching sessions. In the opportunities list view and Kanban view, text colors and arrows indicate amounts and close dates that changed during the last 7 days. And users can hover over an arrow to get details. Changes to opportunity amounts and close dates now show motion indicators for 7 days. Red text and arrows indicate amounts that decreased and close dates that were pushed out (1). Green text and arrows indicate amounts that increased and close dates that were pulled in (2). Hover over an arrow to see what changed, who changed it, and when (3). Setup Steps: Opportunity deal change highlights are turned on by default, but you can turn them off (and back on) via Opportunity Settings in Setup. Request a Free Consultation YOU MIGHT ALSO LIKE
Clone Records with Relevant Data: A Step-by-Step Guide
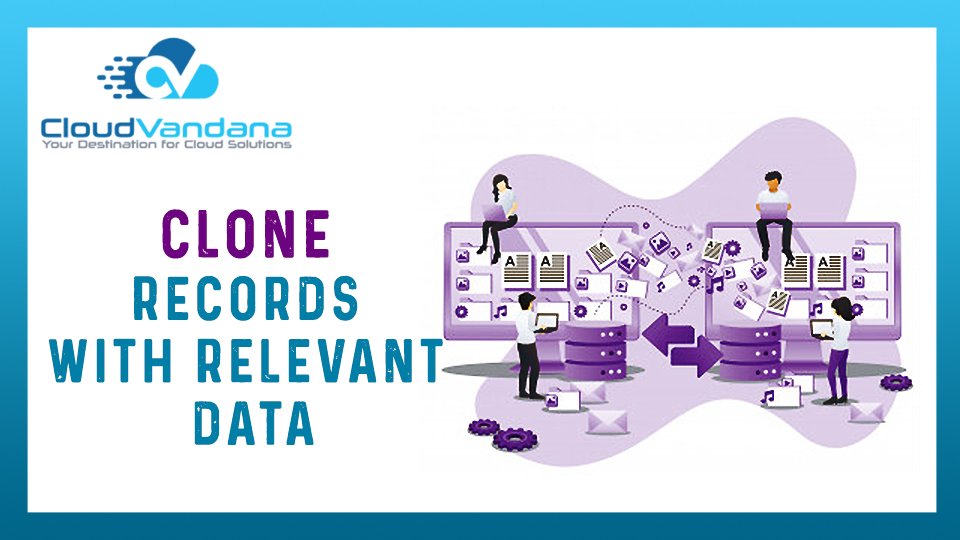
Salesforce gives you the ability to easily clone your records to minimize the effort and increase your productivity. The new clone record interface by the latest salesforce release ensures that the correct record details appear when you clone any record. Previously, the clone records dialog also showed read-only fields relevant only to the original record whose values aren’t actually cloned to the new record. This image shows the clone dialog before (1) and after (2). Along with a slightly updated look, records now show only the fields relevant to the cloning process. Request a Free Consultation YOU MIGHT ALSO LIKE
Connect External Form With Pardot Form Handlers

When you do not want to change your existing forms and need total control over the look and feel with the data manipulation than the Pardot Form Handlers here is to your rescue, Pardot Form Handlers allow you to connect your external form with Pardot. You can use Pardot Form Handlers to collect the information by integrating the external forms. Need to remember before integrating Pardot Form Handlers to existing form. Let’s create a Form Handlers in Pardot. In Pardot, Navigate to Marketing | Forms | Form Handlers Click on Add Form Handlers. Fill up the all Pardot required information. Follow these steps to connect the Pardot Form Handlers to the External Form. Request a Free Consultation YOU MIGHT ALSO LIKE
5 Useful Tips For Pardot

Pardot can be a powerful tool for your business, but it takes some know-how to use it effectively. These five tips will help you get the most out of your investment. Pardot has many features that can differentiate it from other marketing automation tools. I’m a huge fan of Pardot, and when it comes to Pardot, that’s exactly what you need to help you engage your prospects and keep them coming back. But do you have an idea how much you can do with Pardot? From content creation to organization, Pardot is all about streamlining your marketing processes. So whether you’re just a beginner or you’re a Certified Pro Here are 5 of my favorite Pardot tips to help you get the best out of your platform: 1. SEGMENTATION RULES: Need a list based on how many Prospects have bought something from you in the last 15 days? No Worries Segmentation rules give you flexibility and in just a little bit of time, you can have the list of that prospect that is bought from you, providing you with a current snapshot of prospects within your criteria. 2. DYNAMIC CONTENT: Is there any ways to show the content to the prospect according to their location, and any other specific fields like Industry, etc, Dynamic Content is here to the rescue. With dynamic content, your website can boost up. Instead of having a simple white paper on your homepage, Dynamic content gives you the functionality to show the personalized piece of content which is fully based on the prospect’s location and industry. For Example: like you want to change a piece of information on your website monthly then you have to change manually every month, but with Dynamic Content, you can change only once within Pardot and save your time. 3. Folder Destination: Naming convention of folders is the best practice, by Folder naming convention you can find the right files without wasting your time. If you don’t save your assets to the right folder, then you’ll miss out some useful insights and it could even occur some issue with your automation rules. Always remember to change the folder when you save. 4. RE-ENGAGE WITH PROSPECTS As known, the landing pages have the ability to help you to show brief information about your products/services. Let’s take an example of many of your existing prospects checking your landing page but don’t fill out the form, then you can add some logic into your program so they will receive an email a few days later with an attractive offer! This process will definitely increase your conversion rate and sales. 5. SCORING CATEGORIES: By using Scoring, you can have the perfect view of prospect interest in your product/service. As Scoring Pardot also provides you the Scoring Categories features it helps you when you are selling multiple products/services, then the Scoring Category shows you picturized about prospect interest in your specific products/services. For example, prospects have the default score field where the score will be assigned automatically as per the prospect activities on your marketing assets. but Scoring Category can give you the insights view of the prospect score by dividing the Product views. Here you can check the screenshot of Score and Score Category. Prospect Score Overview Prospect Score Category Overview If you need help setting up the Pardot, you can get in touch with us here. Request a Free Consultation YOU MIGHT ALSO LIKE
Use Compact Layouts to Display Key Fields
Pardot can be a powerful tool for your business, but it takes some know-how to use it effectively. These five tips will help you get the most out of your investment. Salesforce provides a compact layout that displays a record’s key fields at a glance in the Salesforce mobile app, Lightning Experience, and in the Outlook and Gmail integrations. In Lightning Experience, up to the first seven fields in a compact layout appear in the highlights panel of an object record. (On smaller screens, the highlights panel displays fewer fields.) When a user hovers over a lookup relationship field on the object record page, a highlights panel for that field also displays the first seven fields from the compact layout. Highlights panels display the first field from the compact layout at the top in an accented font. Like Page layouts, there are separate compact layouts for each object. By default, each object derives its record highlight fields, preview cards, and action-related feed items from the predefined set of fields in the object’s read-only, system default compact layout. You can create custom compact layouts on an object-by-object basis. Note: Request a Free Consultation YOU MIGHT ALSO LIKE
Schedule List Emails to Send at the Ideal Time

List emails enable you to send an individual email to each recipient instead of one email to the entire group. You can send individual, personalized emails to recipients on contact and lead lists and members of a campaign. Or, choose individual records on a list or campaign view. Use email templates with merge fields to customize each email. List email is intended to facilitate your business processes, not to replace your email application or handle mass-marketing campaigns. Schedule List Emails to Send at the Ideal Time With the new release, Reps can now schedule when to send a list email. Choose an ideal date and time to ensure that the list email has the best chance of being read. For example, schedule a list email to arrive at the beginning of the workday. Scheduling was previously available for individual emails only. Step to Follow To schedule a list email, select Send Later. Set a date and time for the list email to be sent. Click Save to save the date and time and return to the list email. Click Send Later and the email is scheduled to be sent at that date and time. To change the scheduled time or delete the email, click the Send Later dropdown Or, go to the List Emails home page. Note: List emails count against an org’s daily email send limit, which is typically 5,000 email recipients per day To know more, visit www.cloudvandana.com. Request a Free Consultation YOU MIGHT ALSO LIKE
Subscribe to Get Report Results Delivered as an Email Attachment

Salesforce gives the feature to subscribe yourself and other users, groups, or roles to receive refreshed report results by email on a schedule that you set as It’s not always convenient to sign in to Salesforce just to view a report. With the latest release, as a report subscriber, you can choose whether to receive the report attachment in .xlsx or .csv format and open your email to view the results. Steps to Subscribe to Reports The reports that you subscribed to are delivered to your inbox on schedule and in the selected format. Note: The attached report can include up to 15,000 rows and 30 columns. Additional rows are clipped. To view the entire report in Salesforce, click the report title in the formatted report email or sign in to Salesforce and search for the report. Request a Free Consultation YOU MIGHT ALSO LIKE


